
Last updated November 22, 2026
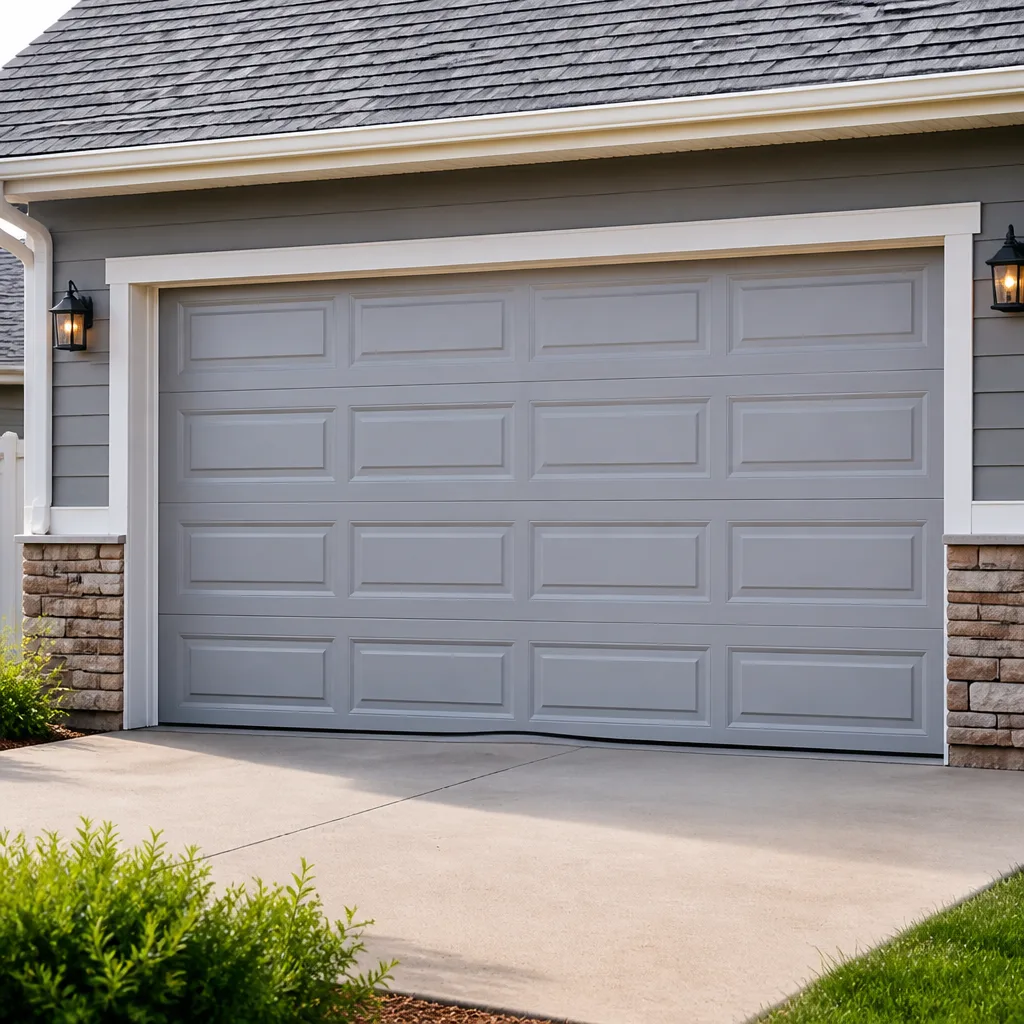 Raised-panel steel
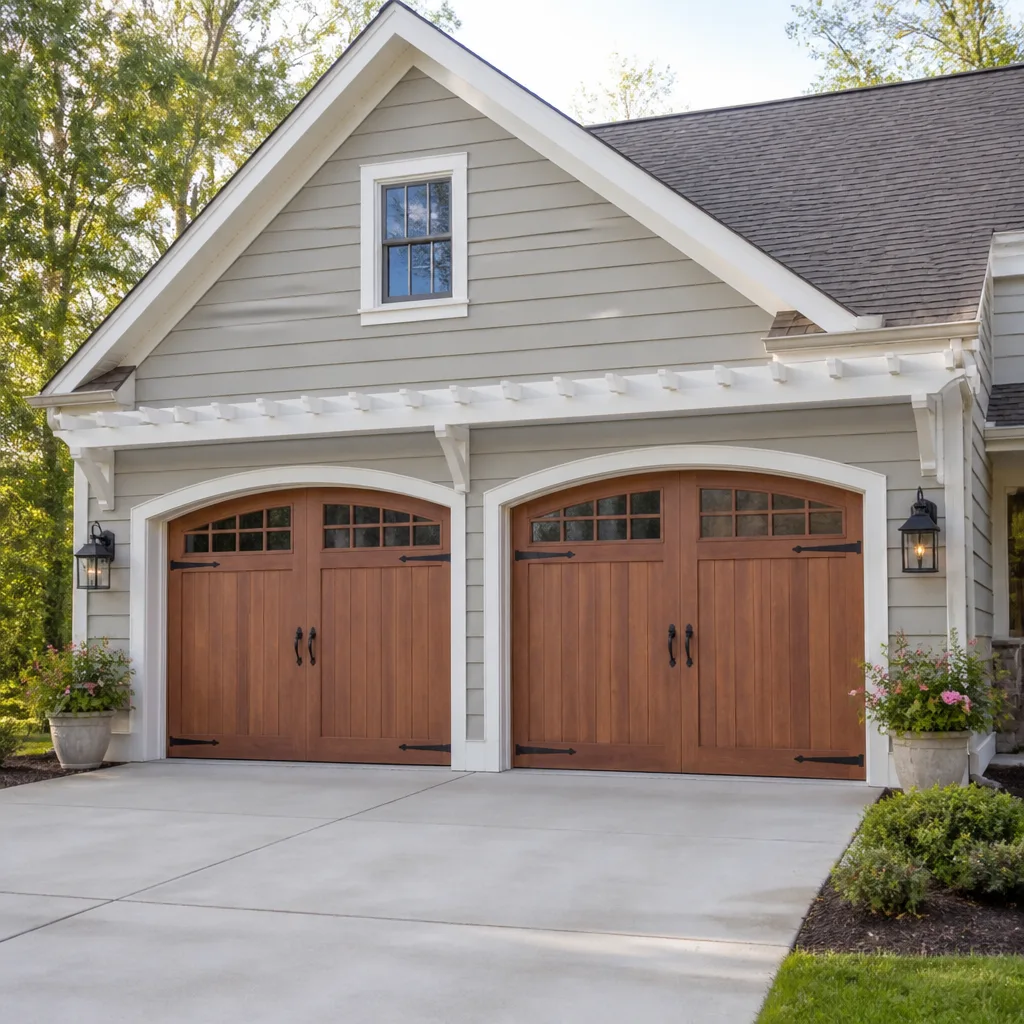 Carriage house
 Modern flush
 Full-view glass
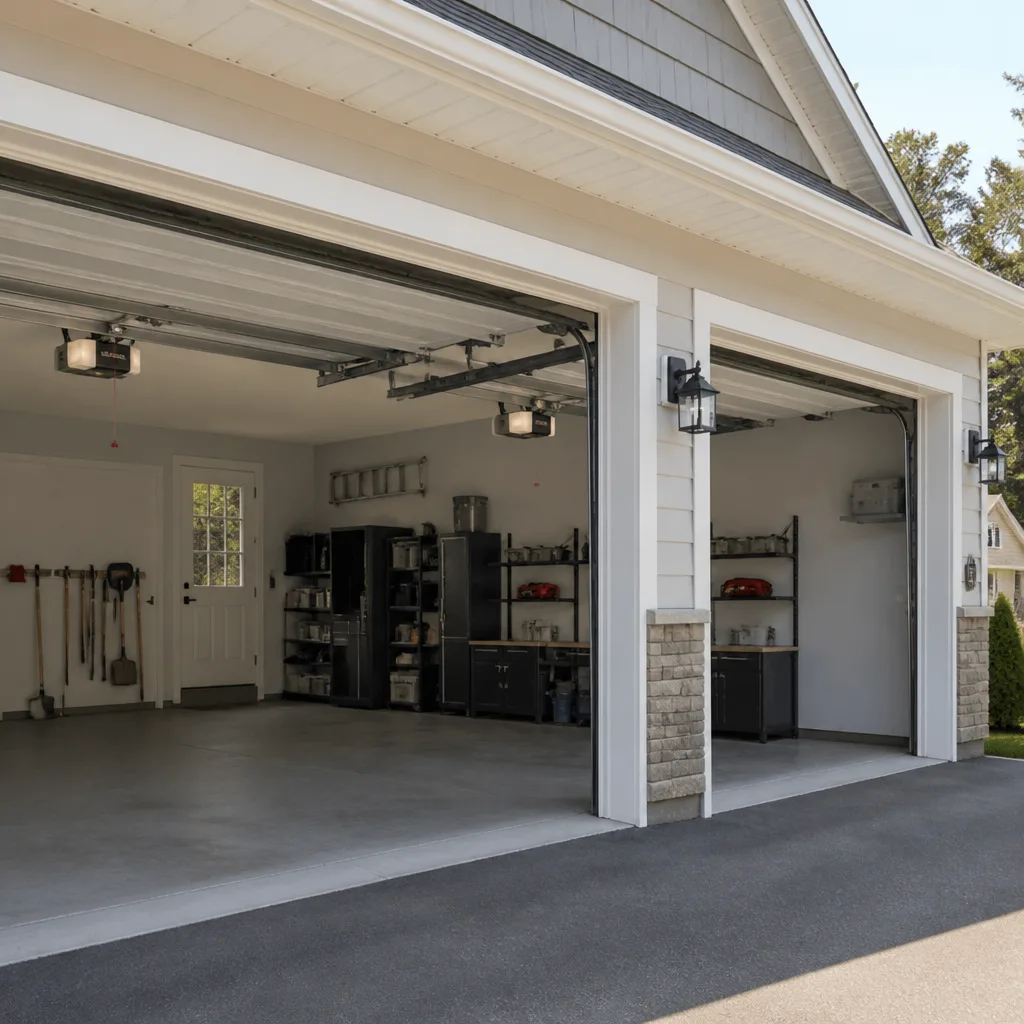 LiftMaster openers
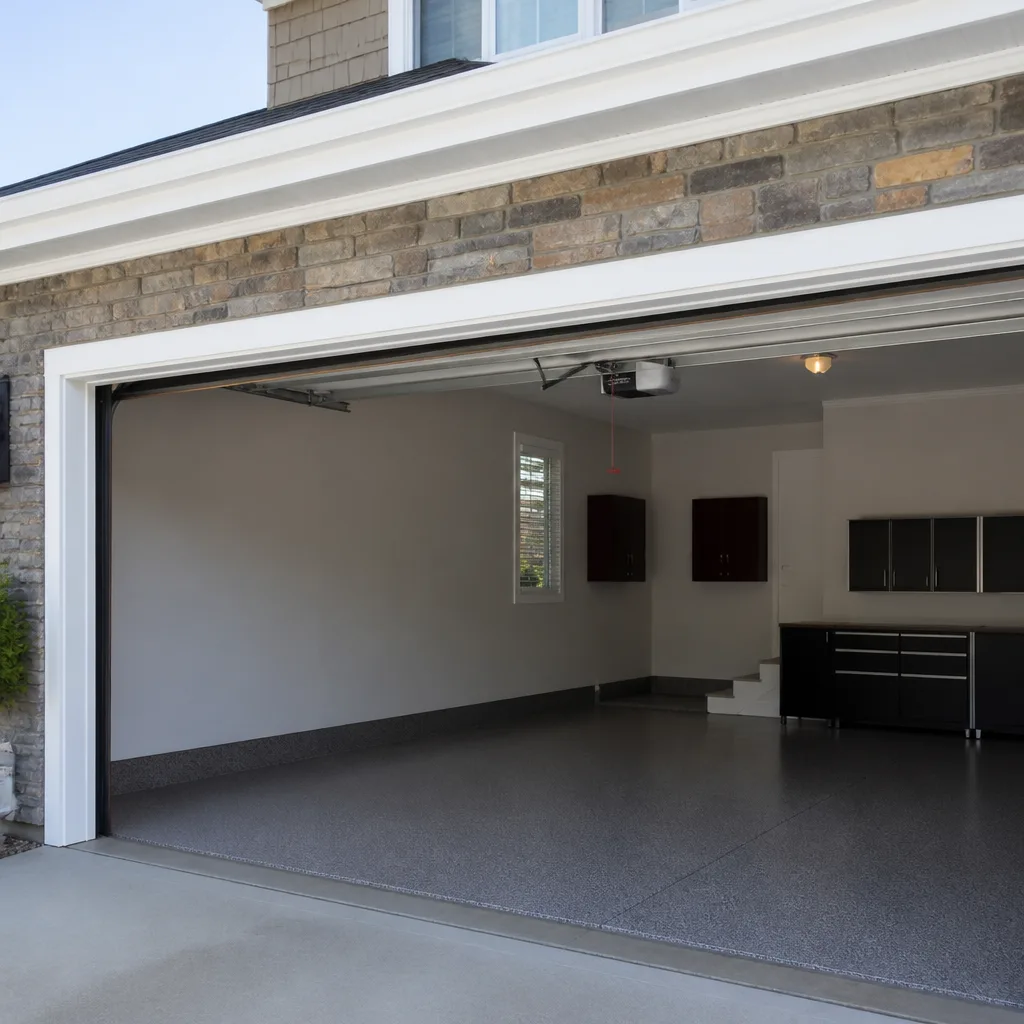 Chamberlain openers
Full 25-point door and opener safety check with every visit - springs, cables, rollers, tracks, and your LiftMaster or Chamberlain opener included
You get a price before we start. It does not change when the pro arrives.
Get your free estimateGarage Door Warning Signs: A Mentor Homeowner’s Reference Guide
Most warning-sign lists tell you to call when the door won’t open. That advice arrives too late to save you money. The signals that actually matter are the small ones: a door that hesitates for a second before it lifts, a soft pop you hear once and then not again for a week, a top panel that looks slightly out of line from the driveway. In Mentor, where garages face real winter cold and heavy summer humidity, these small quirks show up earlier than most homeowners expect, and they’re almost always cheaper to correct at that stage. This guide covers what the early signals mean, what to check yourself, and what to leave alone.
Quick Answer
The most reliable early warning signs of a failing garage door are a door that opens slower than it used to, a popping or grinding noise, a door that rests unevenly when partly open, frayed or kinked cables, and an opener that works intermittently. Any sign involving cables, springs, or the door falling fast means stop using the door and call a professional today.
Styles & brands we work with
- Raised-panel steel
- Carriage house
- Modern flush
- Full-view glass
- LiftMaster openers
- Chamberlain openers
Table of Contents
- Why a Door That Opens Slower Is Telling You Something
- Reading the Sounds Your Door Makes
- The Manual Lift Test
- Visual Signs on Cables, Drums, and Bottom Brackets
- Why an Intermittent Opener Signal Is Rarely the Battery
- Which Signs Give You Weeks and Which Mean Stop Today
- How Mentor Winters and Summers Stress a Door
- Seasonal Checks That Keep Small Problems Small
Why a Door That Opens Slower Is Telling You Something
A garage door that takes three seconds longer to open than it did a year ago isn’t “just getting old.” It’s measurable evidence that the torsion or extension springs have lost some of their lifting capacity and your opener motor is now doing work it wasn’t designed to do. Springs carry the weight of the door; the opener just guides it. When the springs weaken, the opener pulls harder, runs hotter, and wears its gears down at an accelerated rate. What looks like a slow door is actually two problems developing at once.
On a balanced system, the door should be nearly weightless when you disconnect the opener and lift it by hand. If it feels heavy, or if it stays half-open on its own when you let go, the springs are no longer doing their share.
We see this most often in Mentor homes built in the 1980s and 1990s along the Route 20 corridor and off Johnnycake Ridge Road, where original springs have cycled tens of thousands of times. A torsion spring is rated for a finite number of open-close cycles, not years, and a family that leaves and returns twice a day ages a spring faster than a household that uses the door once.
If your door has slowed noticeably, it’s worth having it looked at before the opener burns out. A garage door spring repair is a much smaller job than replacing both springs and an opener later.
What “Slower” Actually Looks Like
- The door hesitates for a beat before it starts moving up.
- The opener sounds strained or louder at the beginning of the lift.
- The door bounces or shudders halfway up.
- The door closes faster than it opens, which suggests the opener is fighting gravity on the way up.
- The motor housing feels warm after a single cycle.
None of these are cosmetic. Each one shortens the life of the opener. If you’re on a LiftMaster or Chamberlain unit with a battery backup, a strained opener also drains that backup faster, which matters more in Mentor’s winter power outages than most people think.
Reading the Sounds Your Door Makes
Your garage door has a vocabulary, and the specific sound it makes tells you which component is failing. A grinding sound is different from a popping sound, and both are different from a squeal. Learning to tell them apart saves you from paying a technician to diagnose something you could describe accurately over the phone.
Grinding
Grinding usually points to metal-on-metal contact in the tracks, rollers, or hinges. It often means dry or seized rollers, or a track that’s bent just enough to pinch the roller as it travels. Left alone, grinding wears rollers flat and can throw the door off its vertical path.
Popping
A single loud pop followed by silence, then another pop later, is the classic signature of a torsion spring that’s starting to fail. The spring is unwinding in a jerky motion. This is the sound most Mentor homeowners describe right before a spring breaks entirely, and it means stop using the door and call a professional. A weaker, repetitive clicking from the opener itself points instead to worn drive gears.
Squealing
A high-pitched squeal is typically a dry torsion tube, worn nylon rollers, or a lack of lubrication on the hinges. This is usually the cheapest sound to fix and the easiest to ignore, which is why it gets put off. Lubrication and roller replacement at this stage prevent the track wear that follows.
Rattling and Banging
Loose hardware. Bolts on the hinges, the bottom bracket, and the opener rail work themselves loose over time, and vibration amplifies. A rattle that grows louder week to week usually means something is close to backing out completely.
If you can describe the sound this precisely, you’ve already done the hard part. A technician can plan the right parts before arriving. If the sound has escalated to a pop and the door has stopped moving, that’s a phone call today: garage door repair on a stopped door gets scheduled as a priority.
The Manual Lift Test
This is the single most useful check a homeowner can do, and almost nobody does it. It takes two minutes and reveals a spring balance problem long before the spring breaks.
- Close the door fully and make sure no one is standing under it.
- Pull the emergency release cord (usually a red handle hanging from the opener rail) to disconnect the door from the opener.
- Lift the door slowly by hand to about waist height, then knee height.
- Let go and watch what happens. A balanced door should stay roughly where you leave it.
- Lift it fully open and lower it. It should move smoothly with modest effort in both directions.
- Reconnect the release when you’re done. Test the opener once to make sure it re-engages.
If the door drops on its own, the springs are too weak and you should not operate it with the opener until they’ve been looked at. If it rises on its own, the springs are over-tensioned, which is equally dangerous. Either way, don’t adjust torsion springs yourself. They carry enough stored force to cause serious injury, and they need the right winding bars and a trained hand. This is exactly the kind of job we want to take off your list. Our spring replacement service exists because this is the most commonly mishandled repair in the trade.
If you notice the door is heavy by hand but it still moves with the opener, you’ve caught a spring problem while it’s a repair, before it becomes a broken-spring emergency after a cold night in Mentor.
Visual Signs on Cables, Drums, and Bottom Brackets
You can catch an imminent failure without touching the door by looking at three places. Cables, drums, and bottom brackets fail in specific, visible ways, and each failure mode gives you a window to act.
Cables
- Fraying or bird-caging: The cable wire unwinds into a fuzzy pattern. A frayed cable can snap without warning.
- Kinks or flat spots: A cable that has jumped its track shows a kink. This usually means the drum is misaligned.
- Rust on the cable: Common in Mentor garages that see damp winters. Rust compromises tensile strength.
- Sagging on one side: Indicates unequal tension between the two cables.
Drums
The cable drums sit at the top corners of the door frame and wind the cables as the door moves. Look for a cable that’s jumped the groove of the drum and is riding on the edge instead of inside the track. That cable is one cycle away from letting go. A visible gap between the drum and the door means the drum is loose on the torsion tube.
Bottom Brackets
The bottom bracket anchors the cable end at the base of the door. Look for a cable end that’s slipped, a bolt that’s backed out, or a bracket that’s bent. This is a critical safety point: never put your fingers near the bottom bracket to investigate. The cable under tension there can release violently. If you see something wrong with the bracket, stop using the door and call.
In our experience, visual inspection catches about as many imminent failures as the door’s behavior does. A door can still be operating perfectly while a cable is a single strand away from failure.
Why an Intermittent Opener Signal Is Rarely the Battery
When your opener works one day and ignores you the next, the first instinct is to replace the remote battery. Nine times out of ten, that’s not the problem. An intermittent signal is usually caused by something the battery can’t fix, and swapping batteries over and over just delays the real diagnosis.
Here’s what to check, roughly in order of how often we find it:
- Safety sensor alignment: The two photo-eye sensors at the bottom of the track need a clear line of sight. A spider web, a shifted mount, or a stray leaf on the lens is enough to break them. Sunlight hitting a receiver at the wrong angle will also cause intermittent failure.
- Logic board or receiver: Modern openers use a receiver chip on the logic board. When that chip begins to fail, the range drops and signals get through only sometimes. This is the failure that gets misdiagnosed as “needs a new remote.”
- Interference: LED bulbs in the opener housing or nearby, certain wireless routers, and some smart-home devices can interfere with the frequency the opener uses.
- Wall control wiring: A loose wire at the wall button or at the opener terminal will cause dropouts.
- Limit switch drift: On older screw-drive an
systems, the limit switches can drift, making the door stop short and appear to ignore commands.
Airing this out matters on smart openers, where a LiftMaster with MyQ or a Chamberlain unit relies on the same receiver chip. If the receiver is degraded, the app, the remote, and the wall button can all act up at once, which points you toward a garage door opener repair rather than a remote replacement. Older Genie and Craftsman systems without smart features fail the same way; the diagnosis just looks different because there’s no app to confuse things.
Which Signs Give You Weeks and Which Mean Stop Today
Not every warning sign is urgent. Some give you a comfortable repair window of two to three weeks. Others mean the door should stay down until a professional has seen it. Knowing the difference is the whole point of this guide.
Two- to Three-Week Window
- Squealing or grinding that comes and goes.
- Loosened bolts you can see.
- A door that opens slightly slower but still opens smoothly.
- An intermittent opener signal that resolves with the wall button.
- Loose or missing weather stripping along the bottom.
- Rollers that are worn but not cracked.
Call This Week
- A noticeable pop you hear once and then not again.
- Any visible fray in a cable.
- A door that rests unevenly when partly open.
- A door that reverses on its own mid-travel.
- A door where one side drops ahead of the other.
Stop Using the Door Today
- A broken spring. If the door is completely dead and you can hear it hanging above you, don’t try to lift it by hand.
- A snapped cable hanging free.
- A cable that’s jumped the drum.
- A door that has come off one track.
- Any situation where the door falls faster than it should.
If you’re in the last group, call (833) 923-2167. We answer 24/7. Fast dispatch from 7am to 7pm, Sunday through Friday.
How Mentor Winters and Summers Stress a Door
Mentor sits on the edge of the Lake County snowbelt, and that has real consequences for garage doors. The freeze-thaw cycle of a northeast Ohio winter works on a garage door the way it works on a driveway: expansion and contraction, moisture that gets in and then freezes, and metal that gets brittle in a deep cold snap.
Cold weather makes steel cables slightly less flexible and spring metal more prone to a snapping failure. Ice and snow packed against the bottom seal at the threshold adds weight the springs weren’t balanced for. The most common cold-weather pattern we see is a door that gets slightly harder to lift by November and fails completely by February. A manual lift test in the fall would catch that.
Summer brings a different set of stresses. High humidity in the garage rusts cables and bottom brackets faster than coastal climates ever get credit for, and the heat can warp a wood-composite door enough to force it into the tracks. Panel doors from Clopay and similar brands handle humidity better than older wood doors, but even those need to be checked for moisture intrusion at the bottom.
The transition weeks are when most problems announce themselves. The first cold snap in November and the first heat wave in June both act as a stress test on anything that’s been quietly weakening all year. If you’re planning only one inspection, do it before the first hard freeze.
Seasonal Checks That Keep Small Problems Small
None of the checks below involve adjusting springs or touching cables. They’re the things a homeowner can safely do to stay ahead of the timeline above.
- Lubricate moving parts twice a year. Hinges, rollers, and the torsion tube get a garage-door-specific lubricant, not WD-40. Do this before winter and before summer.
- Test the safety sensors. Stand in the path and close the door with the wall button. If it doesn’t reverse, the sensors need alignment or cleaning.
- Check the balance manually. That’s the manual lift test above, done once a season.
- Look at the cables. Low light is better for this. A flashlight shows fraying that daylight hides.
- Tighten visible bolts. The hinge bolts and the opener rail bolts work loose; snug them down with a socket wrench.
- Clear the tracks. Wipe out leaves and debris, but don’t lubricate the tracks themselves, which can make the rollers slip.
- Close the door on a cold night and look for daylight underneath. A gap means the bottom seal needs replacing before snow gets in.
That’s the whole routine, and it costs a fraction of a single spring replacement. In Mentor, a garage door that gets this attention once in the fall and once in the spring stays ahead of almost every problem on the stop-today list.
Common Mistakes to Avoid
- Replacing the remote battery first. It’s almost never the battery, and swapping it just delays a diagnosis of the logic board or sensor alignment. If the wall button works but the remote is intermittent, you’ve already narrowed it down.
- Assuming “it still works” means “it’s fine.” A door can operate with a frayed cable or an uneven rest position for weeks before failing completely. Working isn’t the same as safe.
- Adjusting torsion springs yourselves. This is the single most dangerous thing a homeowner can try on a garage door. The springs carry serious stored force, and the wrong winding bar or technique can cause injury in an instant. Leave spring work to a trained professional.
- Lubricating the tracks. It feels right and it’s wrong. Rollers are meant to roll, not slide. Lubricant in the tracks causes the door to skate, jump, and go off track.
- Patching a cable with tape or a clamp. A repaired cable isn’t a repaired cable. It’s a weakened one that fails with even less warning.
- Doing the fall inspection in October instead of November. In Mentor, the first hard freeze usually hits in the second half of November. Checking the door just before that is far more useful than checking it weeks earlier.
- Ignoring a slightly uneven rest position. When one side of the door sits lower than the other at mid-travel, that’s a cable or spring tension signal, and it’s cheaper to diagnose it while the door still moves.
See the difference
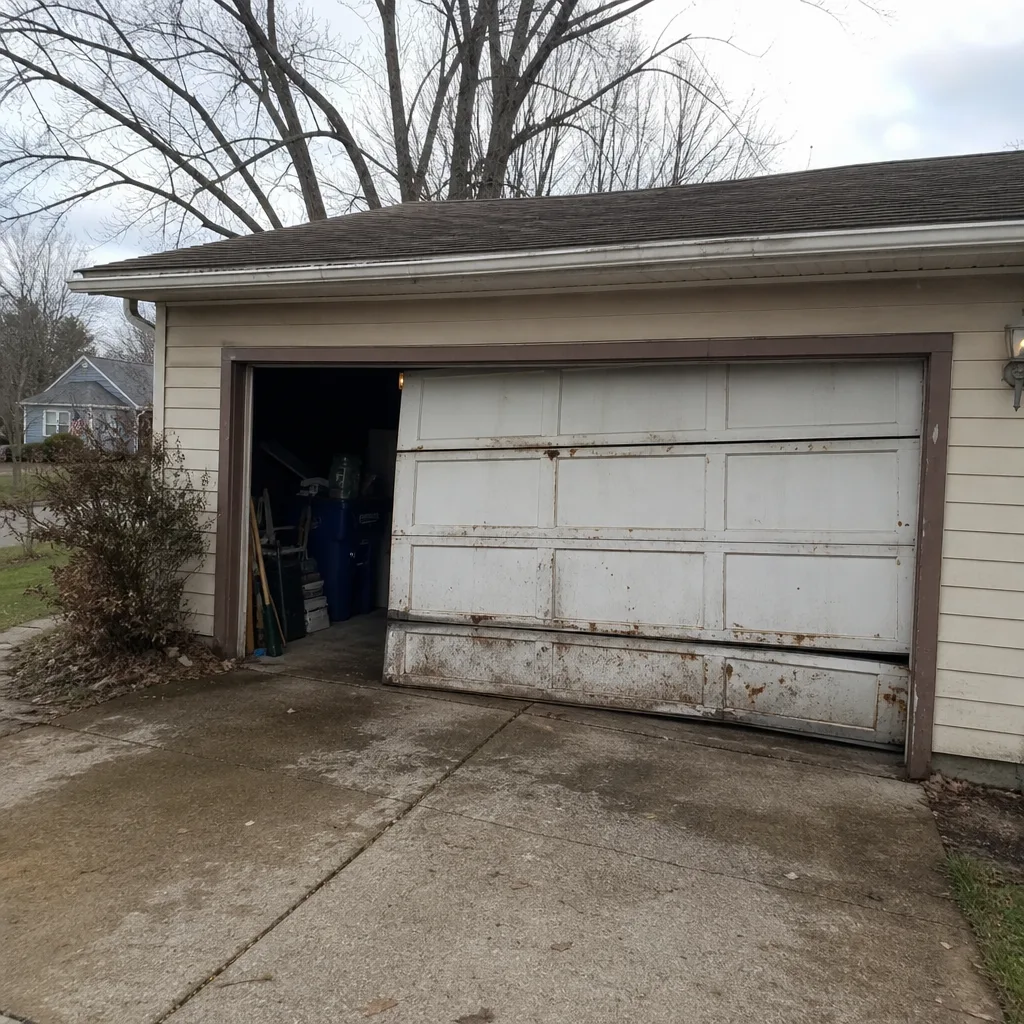 Before
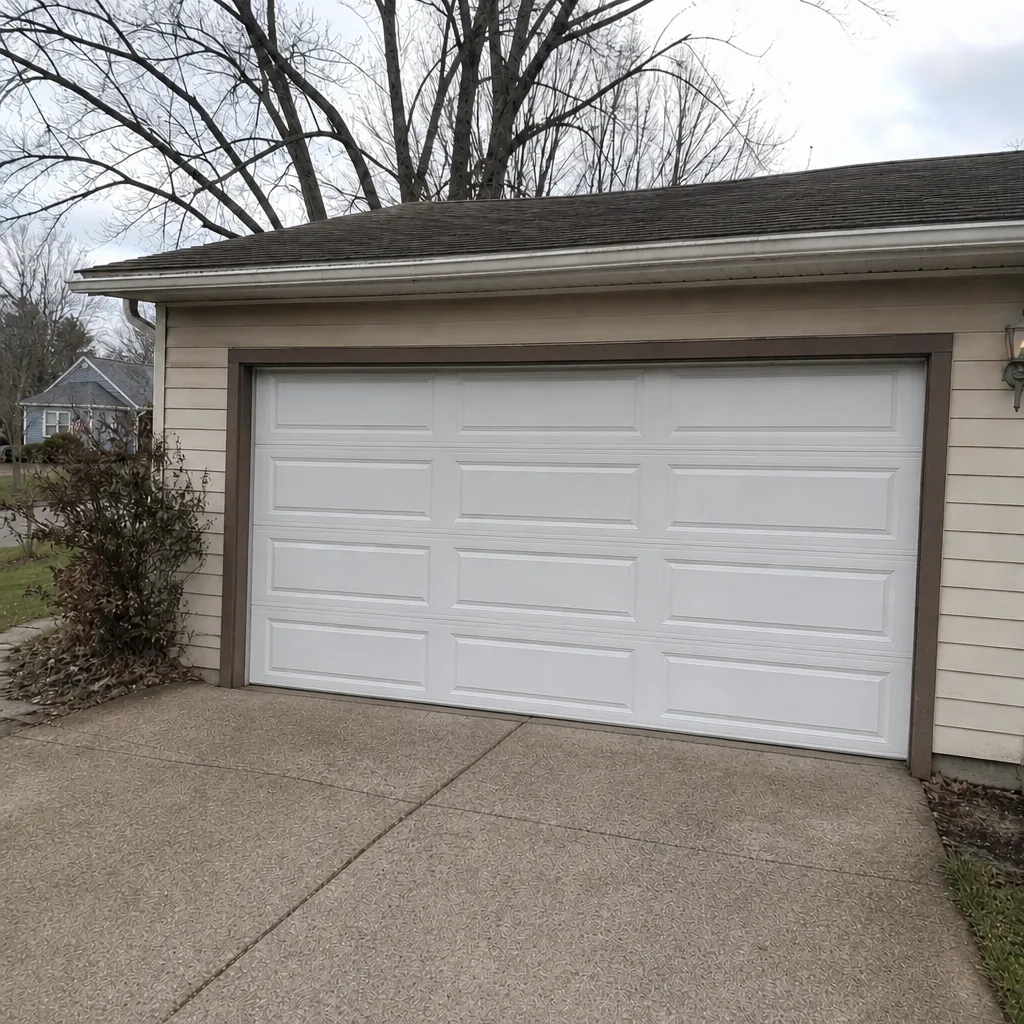 After
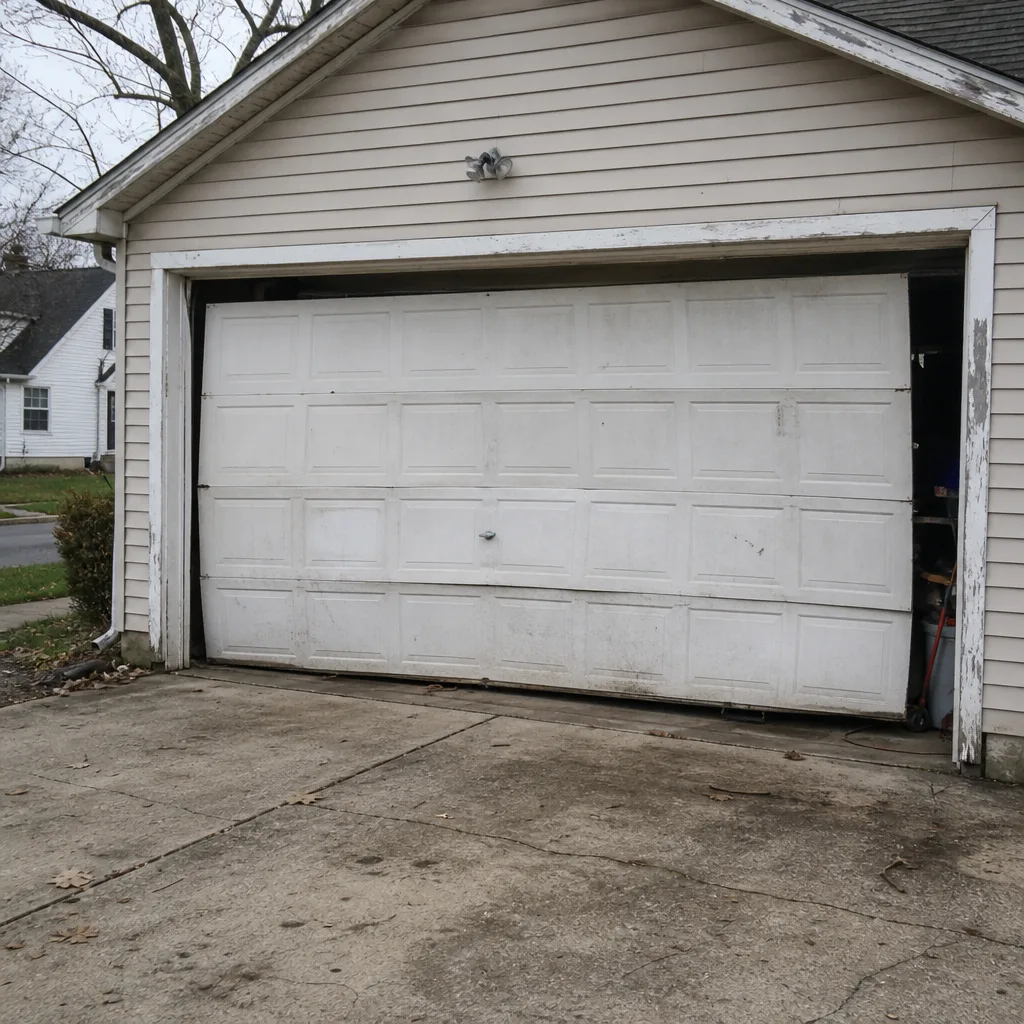 Before
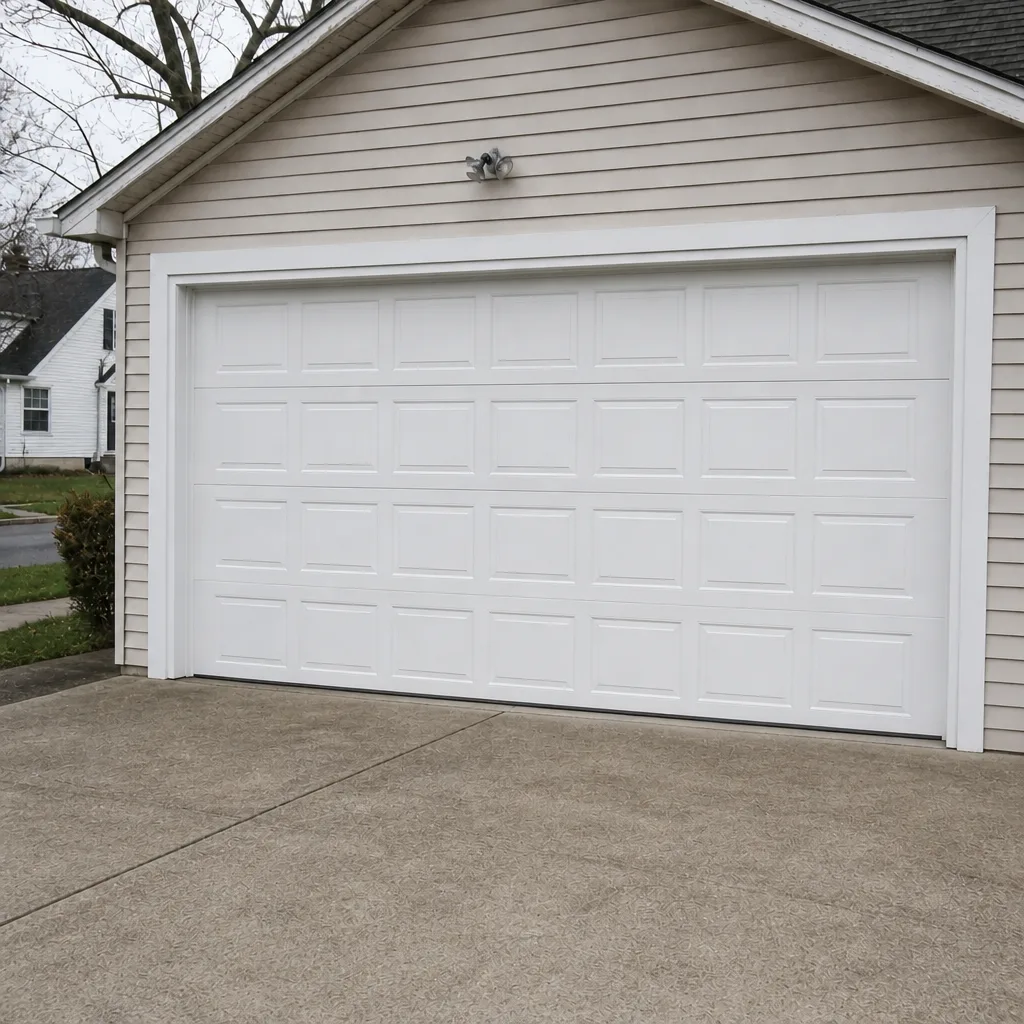 After
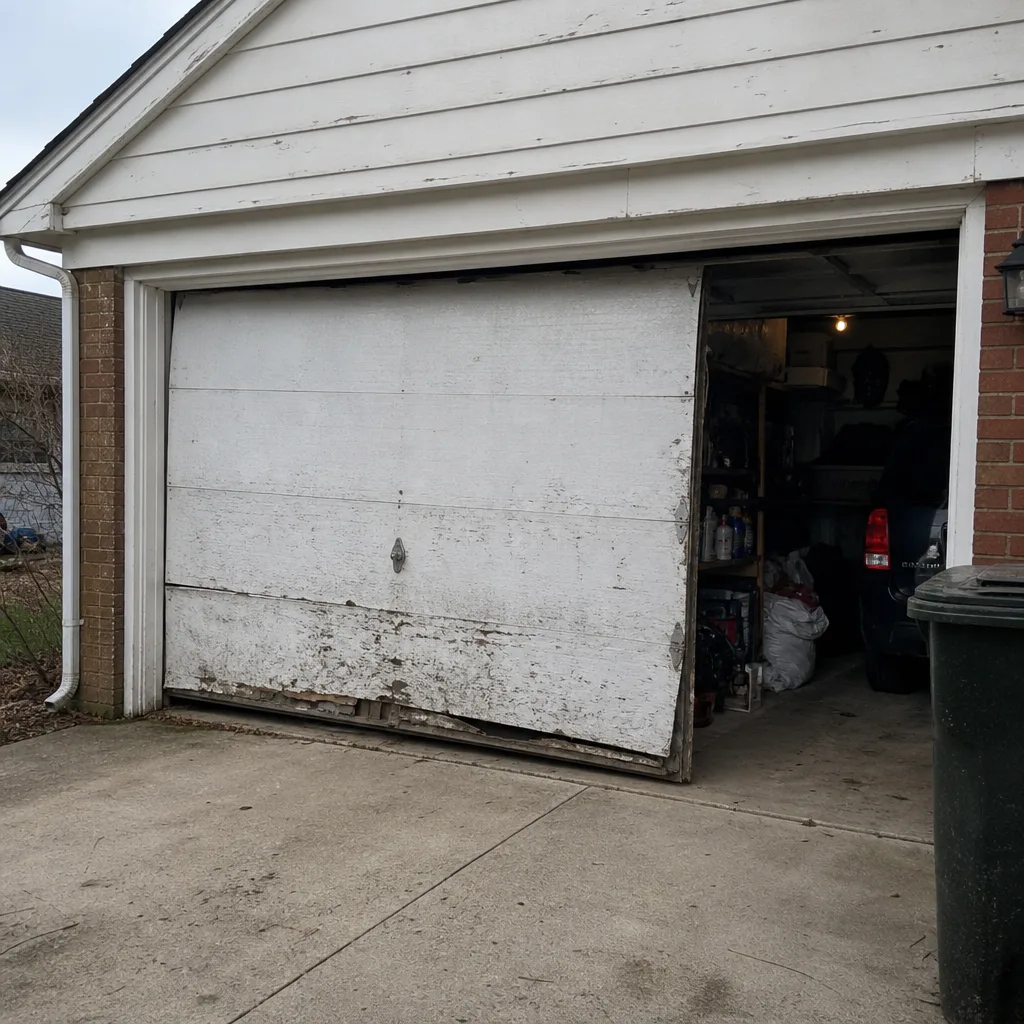 Before
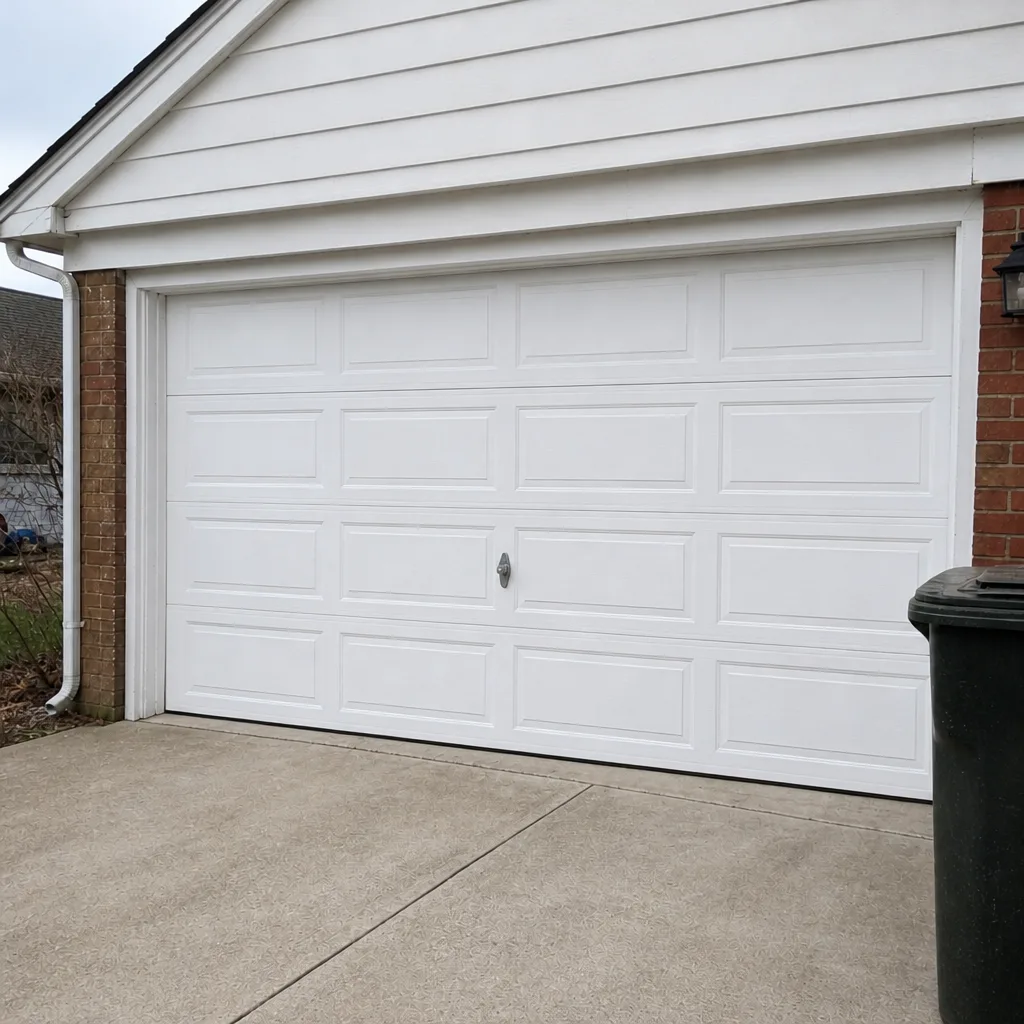 After
When to Call a Professional
Call a professional when you see a cable or a bottom bracket in trouble, hear a pop, or find that the manual lift test shows the door heavy or light. Call immediately if the door is off its track, if a spring has visibly broken, or if the door falls faster than the opener drives it. Also call if you’ve done the seasonal checks and the door is still behaving differently than it used to; a technician with the right tools can usually tell in ten minutes what took you a month of wondering. Our technicians have up to 9 years of experience and work across LiftMaster, Chamberlain, Genie, Clopay, Amarr, Wayne Dalton, Craftsman, and Raynor equipment, so your system is probably a familiar one. Mentor Garage Door Repair Pros offers free estimates in Mentor: call (833) 923-2167. We answer 24/7. Fast dispatch from 7am to 7pm, Sunday through Friday.
Frequently Asked Questions
The most common early sign is a door that opens slower than it used to, or that hesitates before lifting. That hesitation usually means the springs have lost some lifting capacity and the opener is compensating, which shortens the life of the motor. Call (833) 923-2167 for an exact quote: estimates are free.
No. A door with a broken spring should stay down until a professional has seen it. Lifting it by hand puts the full weight of the door on you and on the cables, and it can come down fast. Call (833) 923-2167 for a same-day appointment: estimates are free.
A single pop followed by silence is serious. That sound usually means a torsion spring is beginning to fail, and it’s the warning most homeowners get right before a complete break. Stop using the door and have it checked. Call us for a free estimate on the repair.
Intermittent opener failure is usually caused by safety sensor misalignment, a degraded receiver on the logic board, or interference, not a dead remote battery. If the wall button works but the remote is unreliable, the diagnosis narrows quickly. Call (833) 923-2167: estimates are free.
Twice a year, once before the first hard freeze in November and once in the spring. Mentor’s freeze-thaw winters and humid summers work on cables, springs, and bottom seals faster than most homeowners expect, so a fall check catches problems while they’re cheap to fix. Call us for a free estimate if anything looks off.
No, the written estimate is the price, agreed before any work starts. A technician diagnoses the door, explains what needs to be repaired, and quotes the job in writing. The price you agree to is the price you pay. Call (833) 923-2167 to book a free estimate.
For service across the full lifecycle of a door, from a spot repair to a full replacement, we also handle installation and replacement under the same written estimate process.
The Bottom Line
The warning signs that matter most on a garage door are the quiet ones: a slightly slow lift, a single pop, a cable that looks a little frayed. Catch those while the door still works and you’re looking at a straightforward repair with a written price agreed before the work begins. Ignore them and you’re looking at a broken spring, a burned-out opener, or a door that stops mid-travel and stays there until a technician can get to it. If you live in Mentor and the checklist above turned up anything on the stop-today list, don’t try to lift it yourself. Call us, describe what you’re seeing, and we’ll give you a straight answer about how soon it needs attention.
Ready to get it looked at? Call (833) 923-2167 for a free estimate. We answer 24/7. Fast dispatch from 7am to 7pm, Sunday through Friday. If you’d rather start with the full picture of what we handle, our Mentor Garage Door Repair Pros home page lays it out in one place.
Written by the team at Mentor Garage Door Repair Pros.