
Last updated November 22, 2026
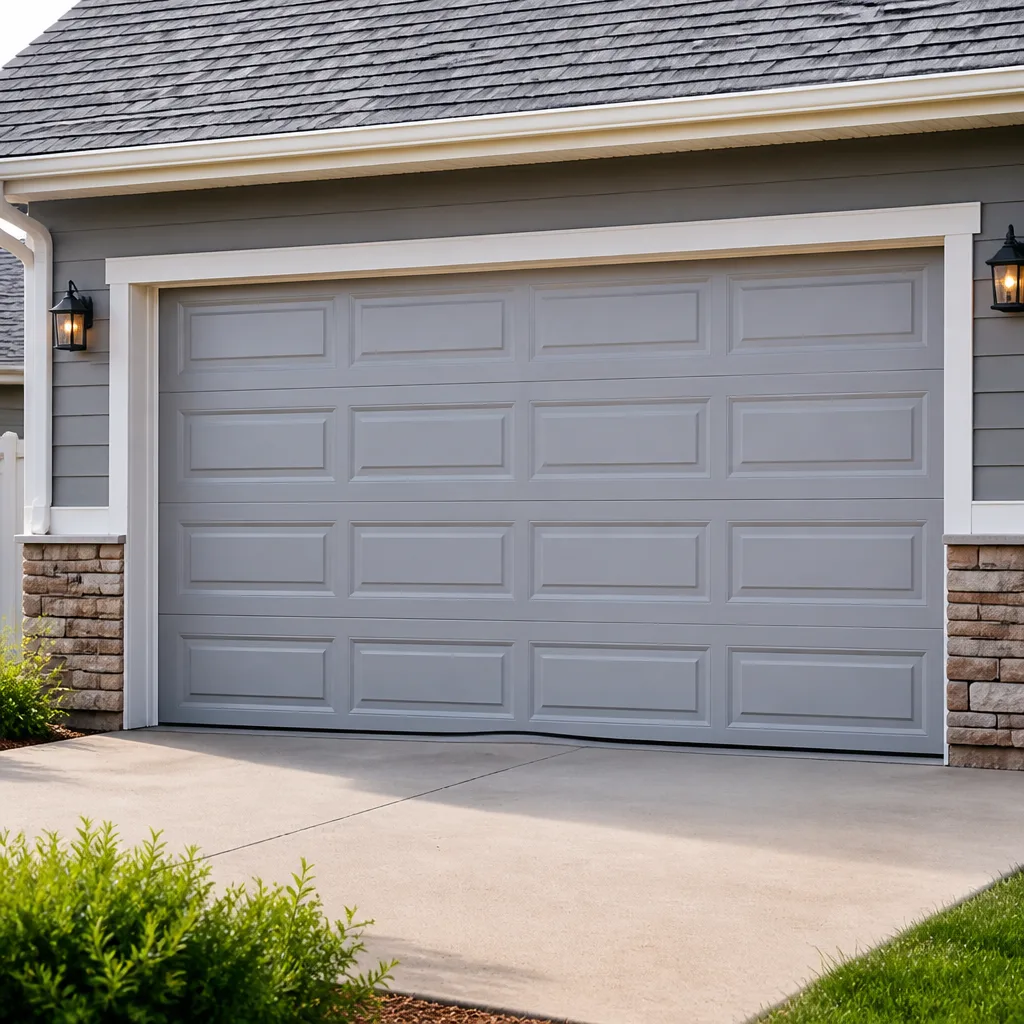 Raised-panel steel
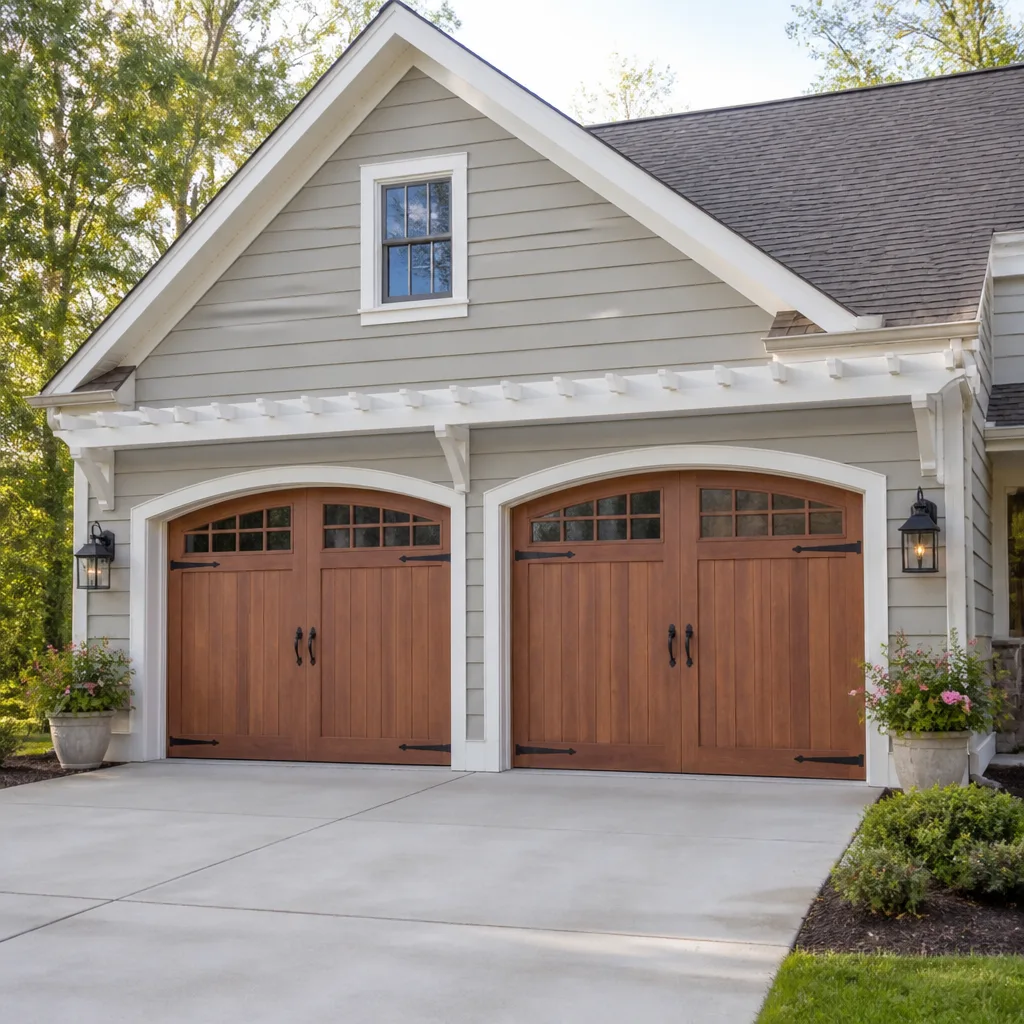 Carriage house
 Modern flush
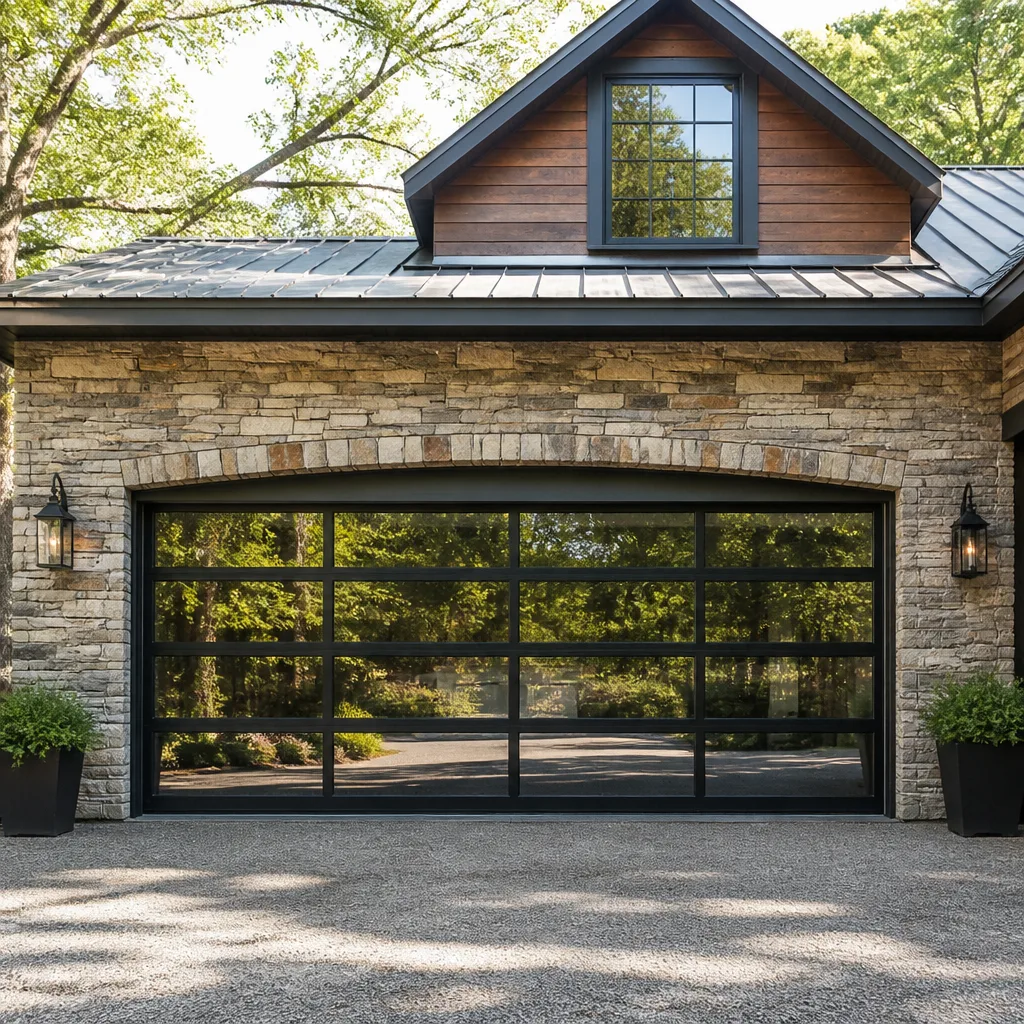 Full-view glass
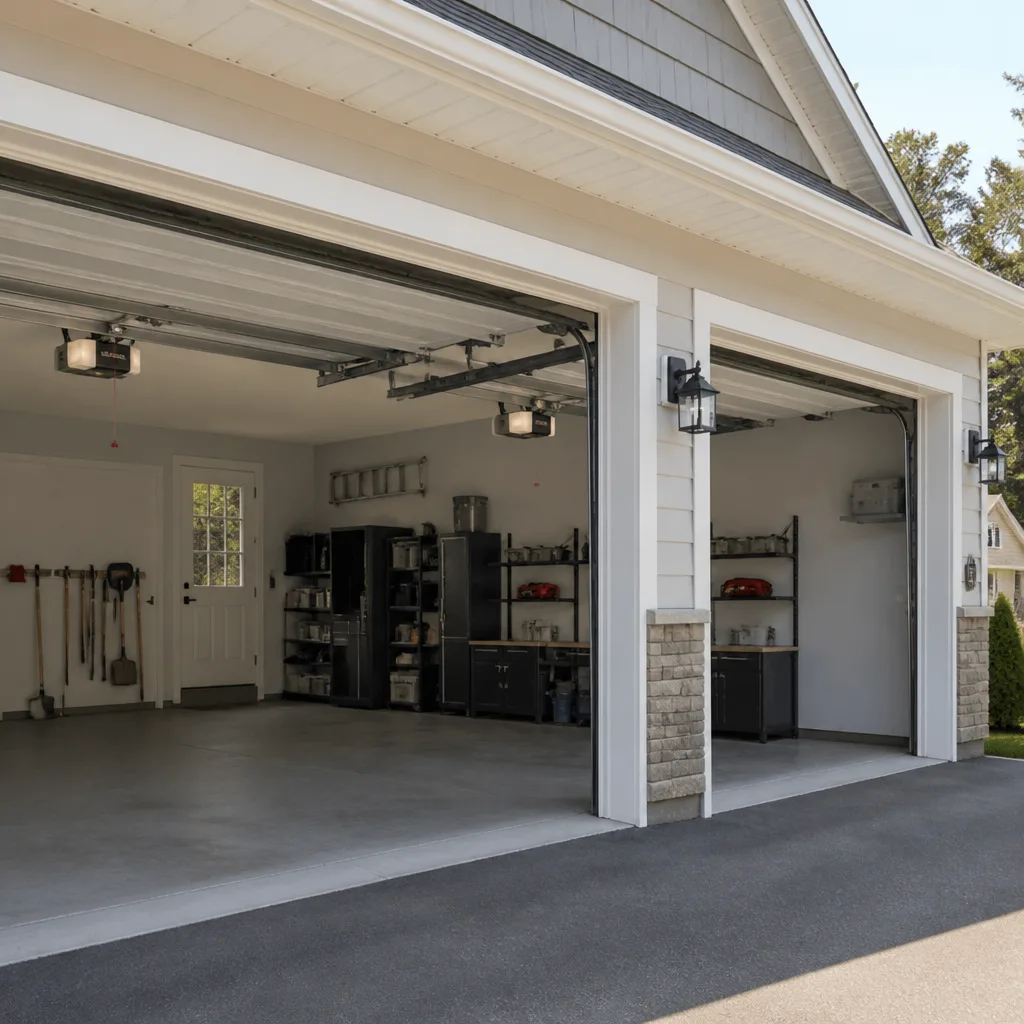 LiftMaster openers
 Chamberlain openers
Full 25-point door and opener safety check with every visit - springs, cables, rollers, tracks, and your LiftMaster or Chamberlain opener included
You get a price before we start. It does not change when the pro arrives.
Get your free estimateGarage Door Permits, Codes & Inspections in Mentor, OH: What You Need to Know
Here’s a scenario that catches more Mentor homeowners than any other: you sell your house, the buyer’s inspector flags a structural header modification made during a garage door replacement two owners ago, and the paperwork lands on your desk. You didn’t do the work. You may not even remember it happening. But you own the problem now, because unpermitted structural work travels with the property, not the contractor who did it. Most people assume garage door permits only matter for new construction. In Mentor, that assumption is expensive. This guide walks through which projects actually need a permit, how Lake County processes the paperwork, what an inspector looks at, and how to clean up an unpermitted modification before closing day.
Quick Answer
In Mentor, a like-for-like garage door replacement on an existing opening usually doesn’t require a permit, but any change to the structural header, the rough opening size, or the fire-rated wall between an attached garage and living space does. Opener swaps generally don’t need one; a new electrical circuit for the opener does. When in doubt, call the city’s building department and ask before the work starts, not after.
Styles & brands we work with
- Raised-panel steel
- Carriage house
- Modern flush
- Full-view glass
- LiftMaster openers
- Chamberlain openers
Table of Contents
- Which Garage Door Projects in Mentor Require a Permit?
- How Lake County Processes a Garage Door Permit
- Ohio Residential Code and the Fire-Rated Wall
- What Happens During a Rough-In Inspection
- What a Final Inspection Actually Checks
- How to Fix an Unpermitted Modification Before a Sale
- When an Unpermitted Door Doesn’t Really Matter
- Common Mistakes to Avoid
Which Garage Door Projects in Mentor Require a Permit?
The short version: cosmetic and mechanical swaps usually don’t need a permit; anything that touches the structure of the opening or the fire separation of the garage does. That line is where most Mentor homeowners get confused, because a garage door replacement can be either one depending on what’s behind the trim.
Here’s how the categories break down in practice:
- Replacement in kind: You’re removing a door of a given size and putting back a door of the same size, mounted to the same brackets, with the same tracks and the same spring setup. This is a swap, not a structural change. Most local building departments treat it as routine maintenance and don’t require a permit.
- Opening size change: Going from a single-car door to a wider opening, cutting a new rough opening into an existing wall, or shrinking an opening means the header above the door is being asked to carry a different load. This is structural, and it needs a permit.
- Header modification: Even without changing the door size, if the header is being cut, sistered, reinforced or replaced, that’s a structural alteration. On an attached garage, this also touches the fire separation between the garage and the house, which is where inspectors pay the closest attention.
- New garage construction: A brand new detached or attached garage obviously needs the full permit package – framing, electrical, the door itself.
- Opener replacement: Swapping an opener head unit for another of the same type, on existing wiring, is a mechanical replacement. No permit. But if you’re adding a new dedicated electrical circuit for a modern unit, that’s electrical work and the electrical permit applies.
Mentor has a lot of mid-century and late-20th-century housing stock where the original garage openings have been altered at some point. If you’re buying a home on the north side of town or near the lake, it’s worth checking the permit history on the garage before you sign anything. We’ve seen this come up in ways that surprise buyers who were otherwise thorough with their inspection.
How Lake County Processes a Garage Door Permit
If your project does require a permit, the paperwork isn’t complicated, but the timeline matters. Most structural garage door permits in the Mentor area move through the city building department in two to four weeks from submittal to first inspection, depending on how busy the review queue is in a given month. Spring and early summer are typically the busiest.
Here’s the general sequence:
- Confirm jurisdiction. Most of Mentor is under the city’s building department, but some parcels on the edges of the county sit under Lake County’s own review. Call before you pay for anything, and confirm which office handles your address.
- Gather the drawings. You’ll need a simple plan showing the existing opening, the proposed opening, and the header detail. If a licensed installer is doing the work, they can usually supply this. Architects are rarely needed for a door replacement.
- Submit the application. Most local departments have an online portal now, though paper is still accepted. Include the contractor’s license information if you’re not doing the work yourself.
- Wait for plan review. This is the part that takes time. Two to four weeks is typical for a straightforward structural alteration; a full new garage takes longer.
- Get the permit issued. Once approved, the permit card goes up in the window and the inspections follow.
- Schedule the rough-in. This happens after framing and before the finished door goes on.
- Schedule the final. After the door is installed and operating.
If you’re having a full door installed – not just a replacement – our team can help you understand what the city will want to see, and we’ll work with whatever schedule the inspector gives us. The Mentor Garage Door Repair Pros team deals with Lake County permit timelines often enough to know which months to plan ahead for. That doesn’t mean we short-cut anything. It means we schedule realistically around review windows.
Ohio Residential Code and the Fire-Rated Wall
The fire separation between an attached garage and the living space is the part of garage door work that most homeowners don’t know exists, and the part inspectors care most about. The Ohio Residential Code requires a fire-rated separation between an attached garage and the house, with specific requirements for the material, the door between them, and how penetrations are sealed. If your garage door work involves changing the header on the shared wall, that fire rating has to be maintained or restored.
What this means in practice:
- The wall between the garage and living space, and the ceiling above the garage if there’s living space above it, must maintain its fire-resistive assembly.
- The door from the garage into the house – not the overhead door, the swinging door – has its own requirements around fire rating, self-closing hardware and weatherstripping.
- Any penetration through that fire-rated wall, including electrical boxes for opener controls, needs to be sealed properly.
- Drywall joints on the garage side are supposed to be taped and finished so the assembly holds up under fire conditions. If a header was replaced and the joint was just caulked, that’s a common inspection failure.
This is where the “replacement in kind doesn’t need a permit” rule starts to matter. If a previous owner cut into the header to fit a different door and didn’t restore the fire separation properly, it’s a real problem at inspection time, even if the door itself works fine. We can’t sign off on that as a garage door company – a licensed general contractor or the inspector has to. What we can do is identify the issue during a garage door repair visit so you’re not surprised by it later.
What Happens During a Rough-In Inspection
The rough-in inspection happens after the framing is done and before the finished door goes on. The inspector isn’t looking at the door yet – they’re looking at what’s behind it. This is the step most homeowners forget exists, and the one that stops jobs cold when something’s wrong.
A typical rough-in on a garage door project checks:
- Header size and material. The header has to match the span and load shown on the approved drawings. If a contractor swapped in a smaller header because it fit the space better, that’s a fail.
- Fasteners and connections. Hangers, brackets and attachment points need to be to plan. Spec’d hardware isn’t optional.
- Fire separation. The fire-rated assembly between the garage and the house must be intact and correctly installed, including taping and finishes on the garage side.
- Rough opening dimensions. The opening needs to match the door that’s going in. This catches a lot of weekend projects that drift a couple of inches during framing.
- Any electrical rough-in. If a new circuit is being run for the opener, its wiring has to be in place and protected before inspection.
The thing homeowners in Mentor tend to underestimate is how much is checked at the rough-in, and how little they get to fix afterward if it fails. Failing rough-in usually means opening walls back up. That’s when a job that looked like a straightforward replacement becomes an unplanned renovation.
What a Final Inspection Actually Checks
Once the door is installed and running, the final inspection is the last box to tick. The inspector is verifying that the finished work matches what was approved at rough-in, and that safety features and clearances are correct. It’s faster than the rough-in, but it’s not a formality.
Final inspection typically covers:
- Clearances. The distance between the door and any adjacent structure, the track clearances, and the required clearance between the bottom of the door and the floor (or the rubber seal).
- The photo-electric safety system. The reversing sensors near the floor have to be mounted, aligned and functional. Modern garage door opener repair and installation work almost always involves these, and the inspector will test them.
- The auto-reverse function. The door’s mechanical reverse on obstruction has to work. This is a code requirement on residential doors, and it’s tested with an obstruction, not just by pressing the remote.
- Manual release. The emergency release handle has to be present, functional, and accessible.
- Labeling and certification. The door itself should carry the manufacturer’s certification label. This matters at resale because it confirms the door meets the applicable safety standard.
- Fire separation at the finished stage. The inspector will verify that the fire-rated assembly is intact after the door is installed, including any holes sealed around the new hardware.
We work with major brands – LiftMaster, Chamberlain, Genie, Clopay, Amarr, Wayne Dalton, Craftsman and Raynor – so the labeling and certification piece is something we can speak to directly. If a door has no label or has been modified from its original configuration, that’s worth flagging before the inspector does.
How to Fix an Unpermitted Modification Before a Sale
Here’s the scenario from the top of this page, and what to actually do about it. If you’re selling a Mentor home and the garage door work from some earlier ownership doesn’t have a permit on file, you have a few paths, and which one makes sense depends on what was modified.
The steps we recommend, in order:
- Pull the permit history. Most Lake County permit records are accessible through the city building department. Pull the full history on the address. If the door replacement never had a permit and never needed one, you’re done.
- Get a structural opinion. If the header or opening was modified without a permit, have a licensed structural contractor or the original installer look at whether the work was done correctly. A visual review is often enough.
- Contact the building department. Ask about their process for retroactive permits. Most departments will issue a “permit for work already completed” that involves a special inspection rather than the standard rough-in-and-final sequence.
- Get the inspection. The inspector will look at the finished condition and, in some cases, will require limited demolition to check the header. If the work was done correctly, this is usually straightforward. If it wasn’t, you want to know before closing day, not after.
- Document the outcome. Whatever the inspector finds, get it in writing. This goes in the seller’s disclosure and it protects you in negotiation.
In our experience, most unpermitted garage door replacements that get flagged at sale are either not actually a permit issue (they were replacement-in-kind), or they involve a header modification that turns out to have been done correctly and just wasn’t documented. The genuinely dangerous scenarios do exist, but they’re the exception, not the rule.
The important thing is timing. Start the process the moment you decide to sell, not the week before closing. A retroactive permit and inspection can take a couple of weeks in Lake County, and you don’t want that compressed into the contingency window.
When an Unpermitted Door Doesn’t Really Matter
Here’s the other side of that coin, and it deserves its own section because it’s the answer for most Mentor homeowners. Plenty of garage door work that “doesn’t have a permit” never needed one. A like-for-like replacement on an existing opening, with the original bracket positions and the same spring configuration, is a mechanical swap. No permit, no inspection, no disclosure issue.
This is where homeowners get nervous unnecessarily. A new garage door spring repair or a replacement of a door with an identical model from Clopay, Amarr, Wayne Dalton or Craftsman isn’t a structural change. If it was done competently and the door works and reverses correctly, it doesn’t matter that there’s no permit on file. The buyer’s inspector may comment, but the answer is simple: replacement in kind, no permit required.
The gray zone is anything that might touch the header or the fire separation. If you can’t tell from the trim whether the header was cut, that’s when you want a professional eye on it. It’s not a threat of disaster – it’s just an easier conversation to have with a contractor than with an angry buyer’s attorney.
Common Mistakes to Avoid
- Assuming any garage door replacement needs a permit. Replacement in kind usually doesn’t. Asking the city is free, and it saves you from a pointless permit application and the inspection wait.
- Assuming no garage door replacement needs a permit. The opposite mistake, and the more expensive one. If the opening size changes or the header is touched, you need a permit, even if the address hasn’t seen one for the last few doors.
- Skipping the fire separation on an attached garage. Ohio’s residential code requires it. An inspector will catch a poorly-finished garage-side wall during rough-in, and it’s much easier to fix before the door goes on.
- Hiring an unlicensed installer for structural work. In Mentor, a licensed contractor is required for structural modifications. A cheap installation on a header change is the wrong place to save a few hundred dollars.
- Ignoring the safety reverse. Inspectors test it, and it’s a code requirement for a reason. If your existing door’s reverse isn’t working, that’s a safety issue regardless of paperwork.
- Waiting until closing week to check permit history. Retroactive permits take time in Lake County. Start the process early, and don’t let the timeline compress.
- Assuming an unpermitted door is dangerous. It might be, but it usually isn’t. Get a professional opinion before you panic, and definitely before you agree to a buyer’s price reduction.
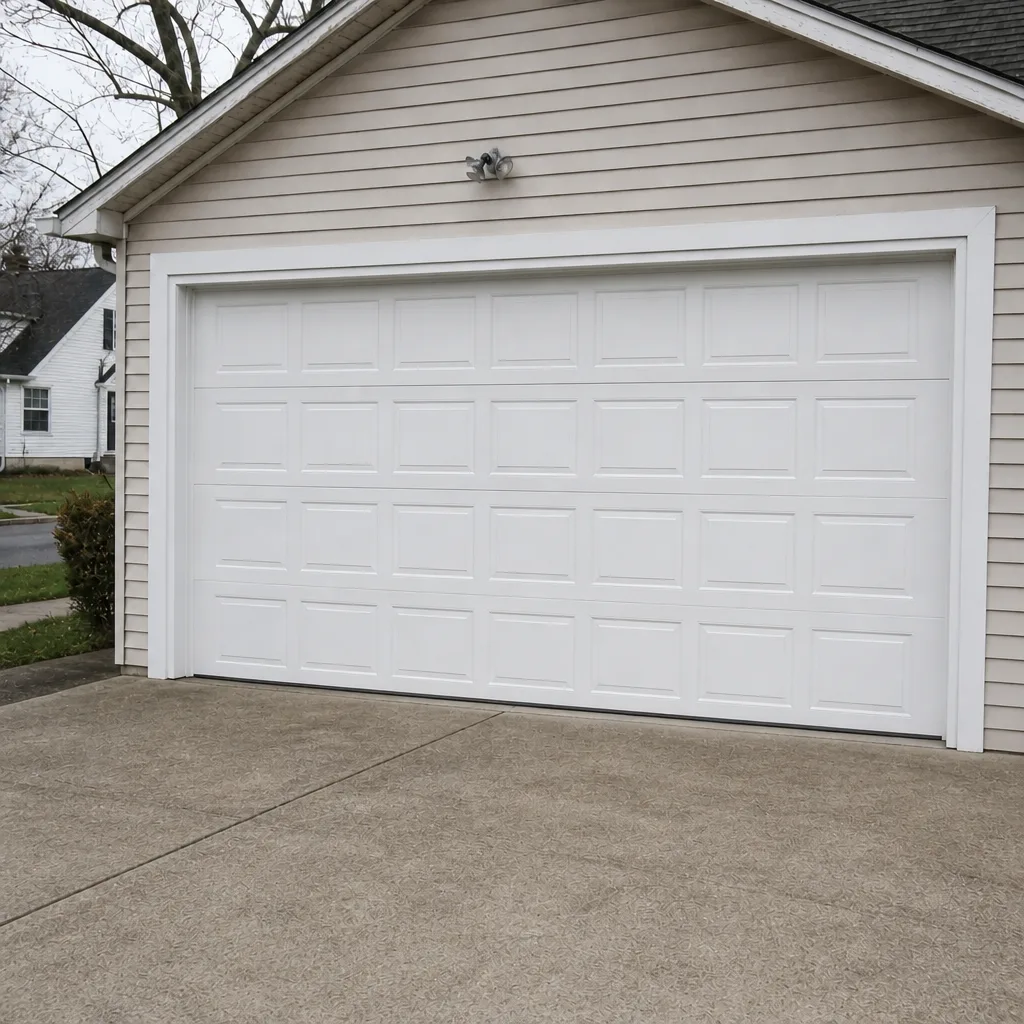
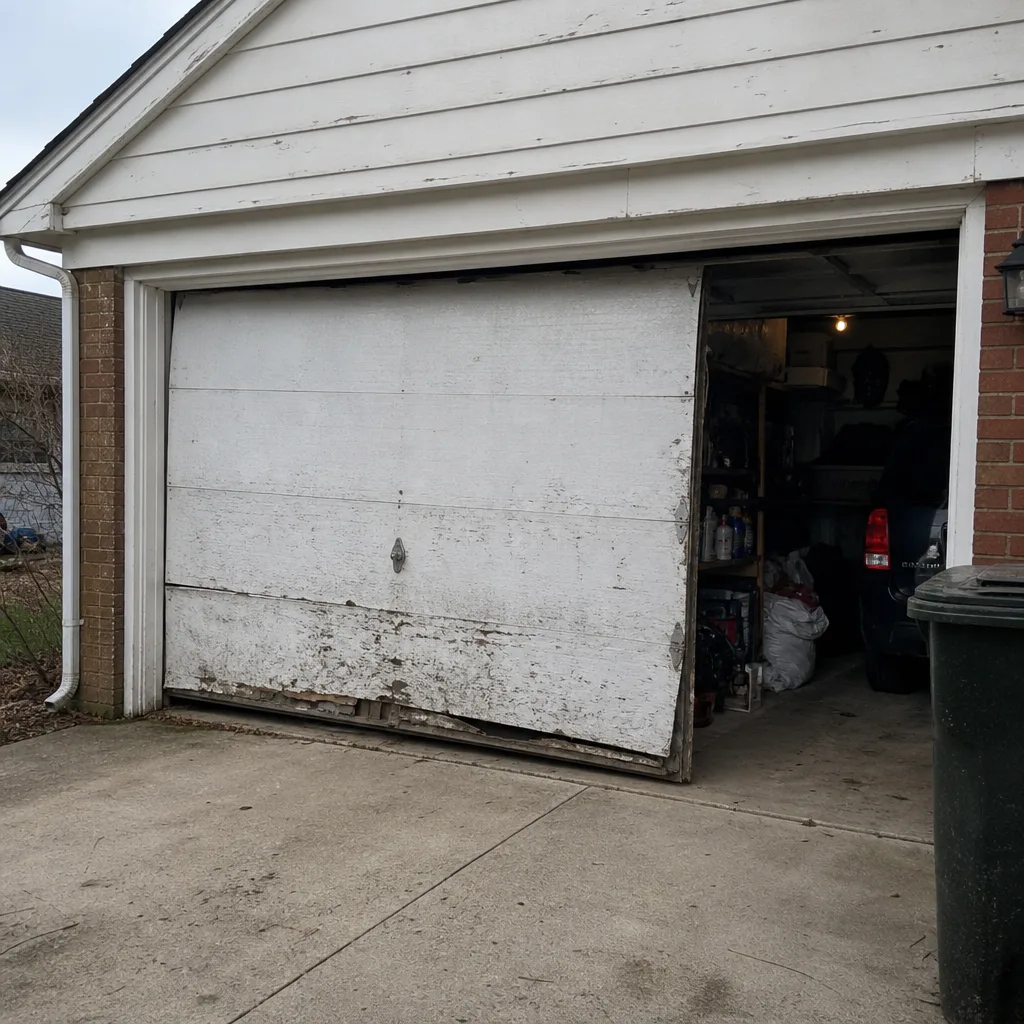
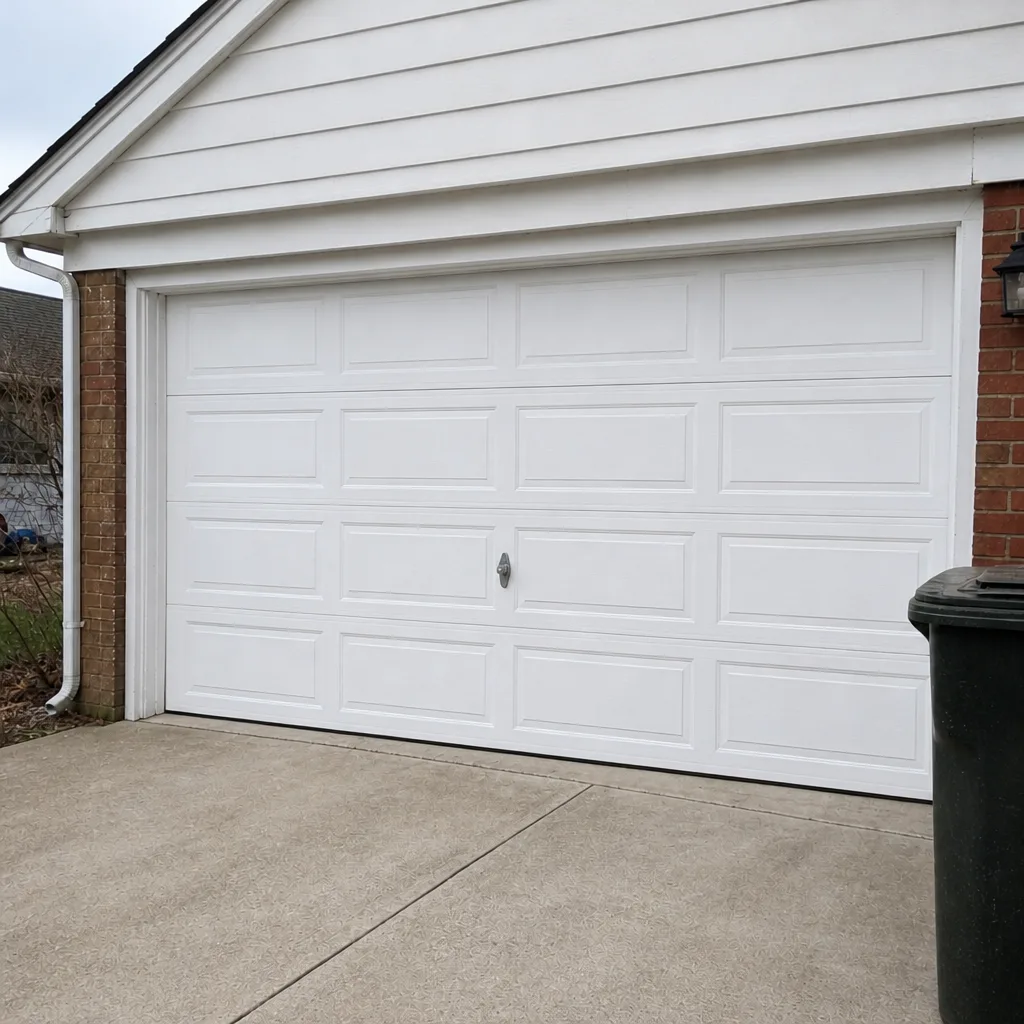
See the difference
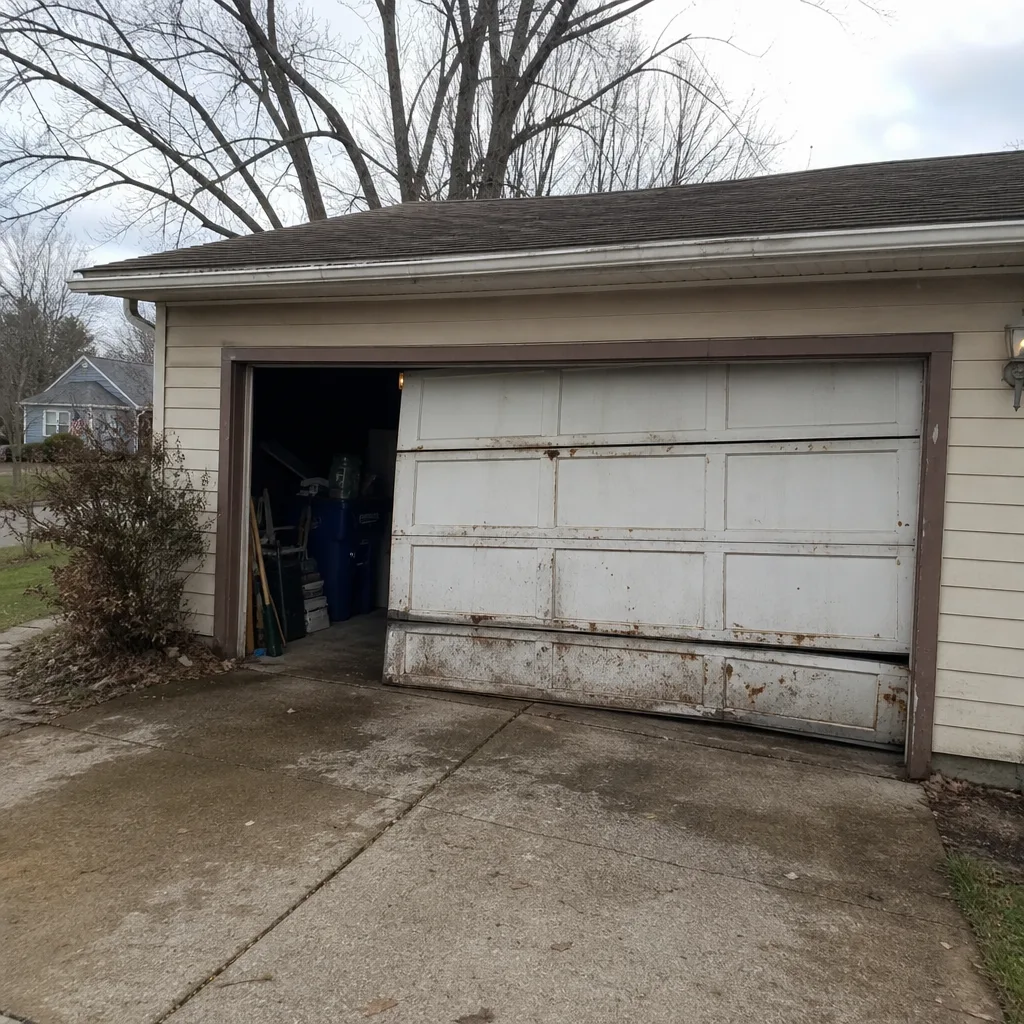 Before
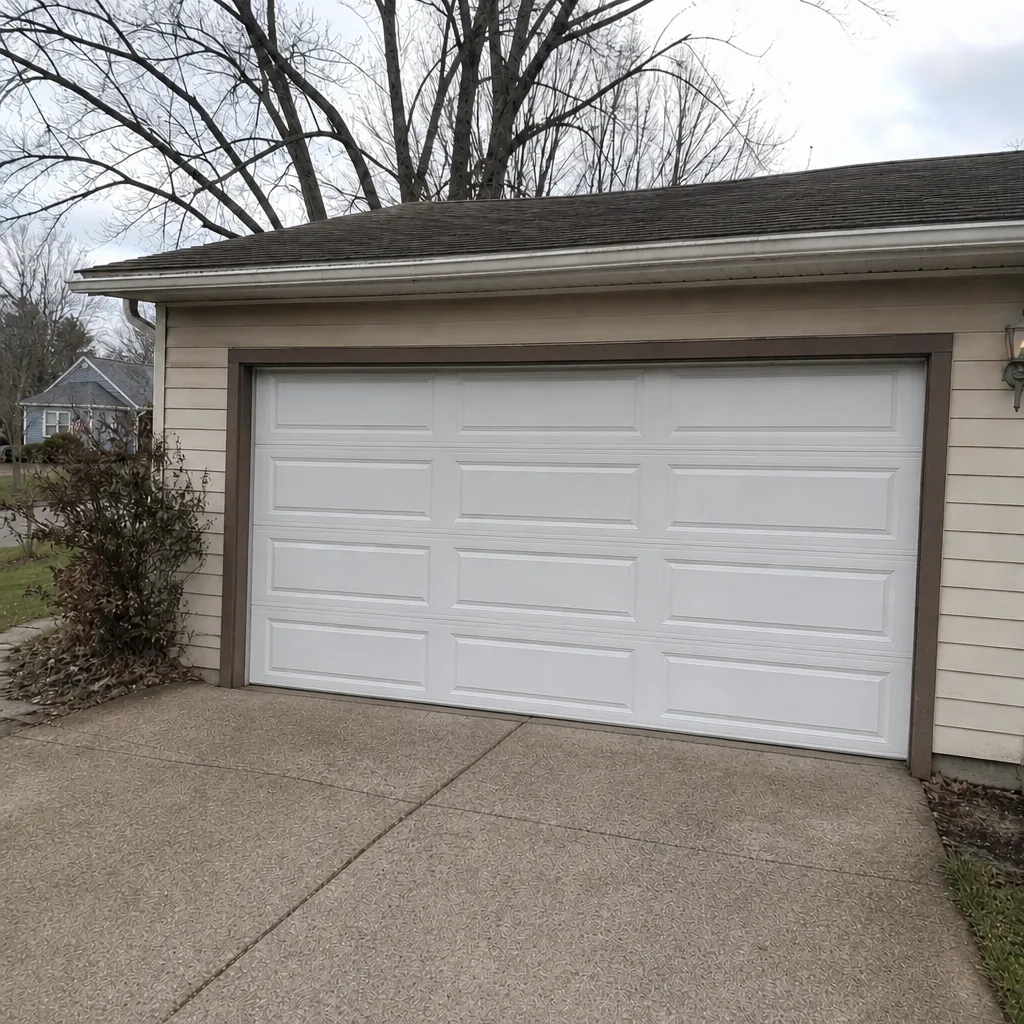 After
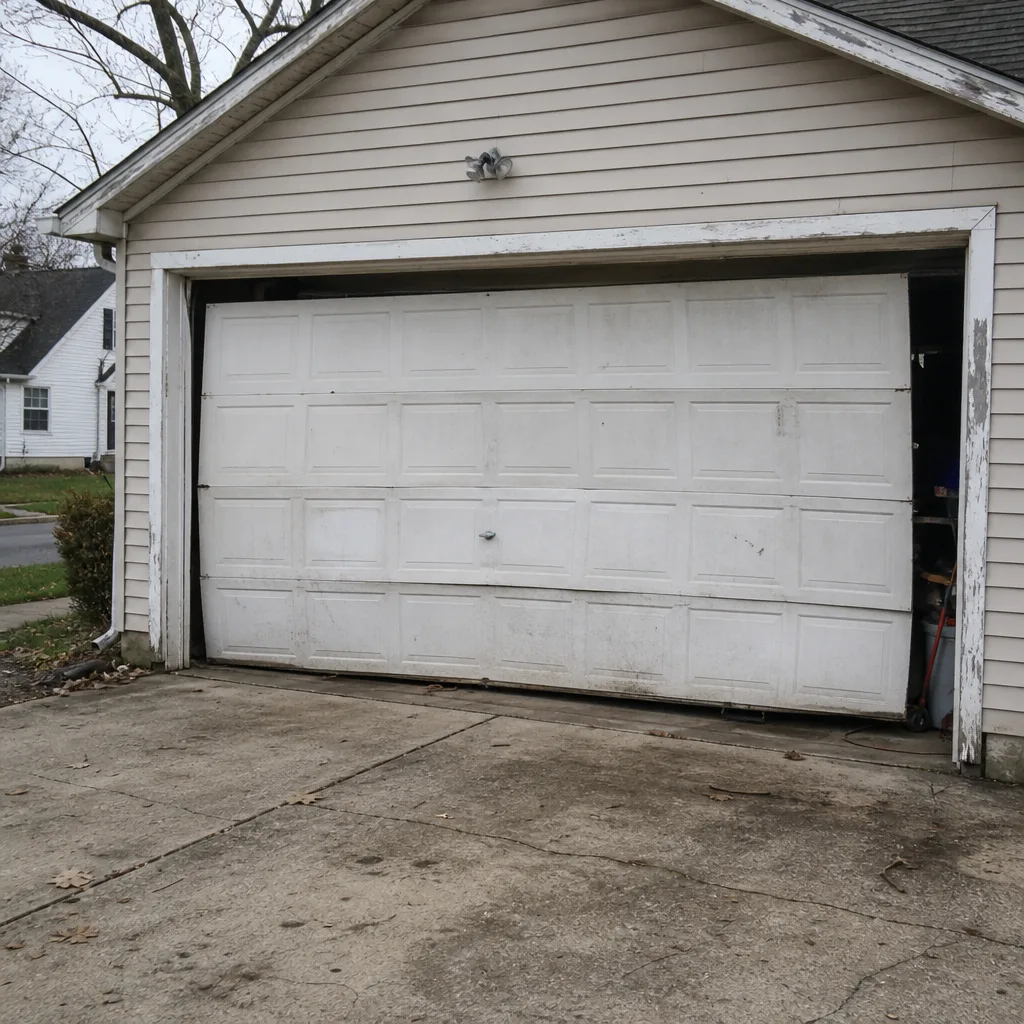 Before
 After
 Before
 After
When to Call a Professional
You should call a professional if you’re not sure whether your garage door project touches the header or the fire separation – that’s the whole gray zone in one sentence. You should also call if the door is exhibiting symptoms you can’t diagnose (grinding, sagging, a slow reverse), if a spring or cable has failed, or if you’ve found an unpermitted modification at your address and need someone to look at whether it was done correctly before you start the retroactive permit process. Springs and cables in particular are a genuine safety concern and not a do-it-yourself repair.
Mentor Garage Door Repair Pros offers free estimates in Mentor – call (833) 923-2167. Our technicians have up to 9 years of experience, and we work with LiftMaster, Chamberlain, Genie, Clopay, Amarr, Wayne Dalton, Craftsman and Raynor. We can tell you whether what’s in your garage looks like replacement in kind or something the city will want to see. That diagnosis is free, and it’s the right first step.
Frequently Asked Questions
It depends on what “replace” means. A like-for-like replacement on an existing opening, with the same door size and bracket positions, usually doesn’t require a permit in Mentor. Any change to the opening size, the header, or the fire separation between an attached garage and living space does. When in doubt, call the building department and ask about your specific address before the work starts. Call (833) 923-2167 for a free estimate – we can help you figure out which scenario you’re in.
Most structural garage door permits in the Mentor area move through plan review in two to four weeks from submittal to first inspection, though that varies with the review queue. Spring and early summer are typically busiest. The full process – submittal, plan review, rough-in, final – usually spans a month or more. Start early if you’re under a closing deadline. Call (833) 923-2167 for a free estimate – we schedule around reviewer timelines rather than pretending they don’t exist.
Ohio’s residential code requires a fire-rated separation between an attached garage and the living space, including the shared wall, the ceiling above the garage if there’s living space above it, and appropriate fire-resistive rating on the door from the garage into the house. Any penetration for electrical or opener wiring has to be sealed properly to maintain that rating. If a garage door project touches that wall, the assembly has to be restored. Call (833) 923-2167 for a free estimate – we can identify whether your existing garage wall looks like it’s been compromised.
A final inspection verifies that the finished work matches what was approved, and checks clearances, the photo-electric safety sensors near the floor, the auto-reverse function on obstruction, the manual release, and the door’s certification label. On an attached garage, the inspector will also confirm the fire separation is intact after the door is installed. It’s typically faster than the rough-in, but it’s not a formality. Call (833) 923-2167 for a free estimate – we can prepare your door for an inspection, not just install it.
Unpermitted structural work travels with the property, not the installer, so it becomes a seller disclosure issue and can end up in negotiation. The fix is usually straightforward: pull the permit history, get a professional opinion on whether the work was done correctly, then contact the city for a retroactive permit and inspection. Most flagged garage door replacements turn out to be replacement in kind and not a real problem. Call (833) 923-2167 for a free estimate – we can tell you which category you’re in before closing day.
For structural garage door work, yes – the contractor performing the work needs to be licensed as their state and city require, and the insurance and bond have to be current. For mechanical replacements like opener swaps, a handyman may be technically fine, but the equipment should still be installed correctly and tested for the safety reverse. The local professional we connect you with is licensed and insured as their state requires. Call (833) 923-2167 for a free estimate.
The Bottom Line
The garage door permit question in Mentor comes down to one line: does the work touch the structure or the fire separation? If yes, permit required. If no, probably not. Replacement in kind, opener swaps, spring repairs – usually no permit. Opening size changes, header modifications, new circuits for opener upgrades, new garage construction – permit, inspection and a two-to-four-week review. If you find unpermitted work at your address, the fix is doable and usually less painful than the worry. The one thing that doesn’t work is waiting until closing week to look.
If you’re not sure which category you’re in, get someone to look at it. That’s the whole value of the call.
Ready to get a straight answer about your garage door? Call Mentor Garage Door Repair Pros at (833) 923-2167 for a free estimate. We answer 24/7. Fast dispatch from 7am to 7pm, Sunday through Friday. Free estimates, upfront pricing, and written quotes agreed before any work starts.
Written by the team at Mentor Garage Door Repair Pros.